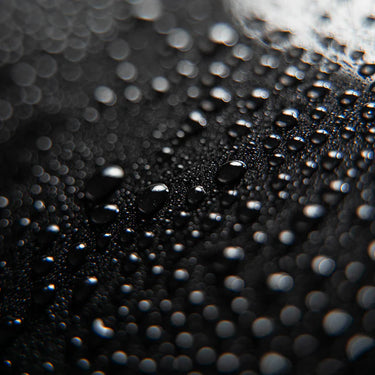
When it comes to maintaining and protecting your car's paint, it essential to apply a wax or sealant on the surface. Doing this will provide a protective layer on the surface of the paint, safeguarding it from environmental damage and keeping it shiny and clean. Using waxes or sealants also makes maintenance easier while preventing UV damage, dirt accumulation and watermarks.
A step-by-step guide on how to apply car wax or sealant properly.
Step 1: Properly Wash and Dry Your Car
Before applying any surface sealants or waxes it is important to start with a clean surface. Firstly, use a prewash like SP1 Prewash by Innovacar or Spumone by Fra-Ber, to decontaminate the car for the removal of grease, oil and other tough-to-remove contaminants. After the prewash, use a pH neutral car shampoo like S2 Foamy by Innovacar and thoroughly wash your car using a wash mitt or chamois. Dry the vehicle properly using a drying towel/microfibre towel and ensure that the surface is completely dry because water can interfere with the application and effect of a wax or sealant. (For more information about how to properly clean a car, read the following article: Why You Need Both Prewash and Car Shampoo for a Proper Car Cleaning Routine)
Step 2: Clay Bar Treatment (Optional but Recommended)
After washing and drying the car use a clay bar or clay mitt to remove deep contaminants that washing alone can’t remove. Doing this is ensures the surface is as smooth as possible, allowing the wax or sealant to bond and cure better with the car's paint and surface.
Step 3: Choose Between Wax or Sealant
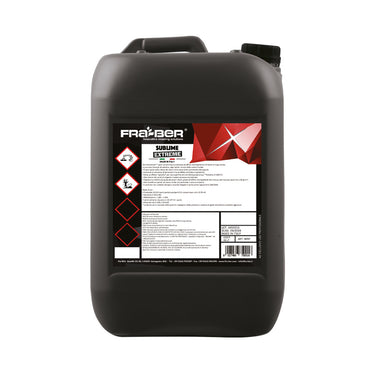
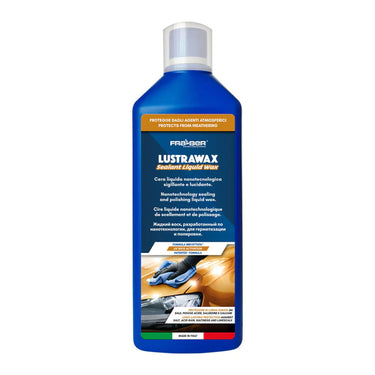
After cleaning, drying and using a clay bar on the paint and surface it's time to decide between using either car wax or sealant. The choice is dependant on what job needs to be done. If you require a deep shine, wax is option to go for, however, it does not last very long (1-3 months). Sealants last longer (6-12 months), and are easier to apply but do not have the glow and shine as waxes.
Step 4: Apply in the Shade
The car is prepped, the right product has been chosen and now it's time to find the right place to apply the product. It is essential to always apply wax or sealant in a cool, shaded area to avoid direct sunlight, which can cause the product to dry too quickly and make it harder to buff off.
Step 5: Apply the Product
Wax- apply a small amount of the wax at a time on a foam applicator (recommended: Foam App by Fra-Ber) and spread the product on the surface in a circular or back and forth motion, ensuring the wax is evenly spread on the surface. Sealants- sealants usually come in a spray bottle. Simply spray the product directly on the surface and also work in circular or back and forth motions, working in small sections.
Step 6: Let the Wax/Sealant Cure
After applying wax or sealant, allow it to cure (harden) according to the product's directions of use (read the back of the bottle or packaging to see this information). For wax, this usually takes a few minutes until it hazes. Sealants might require more time, sometimes up to 30 minutes.
Step 7: Buff It Off
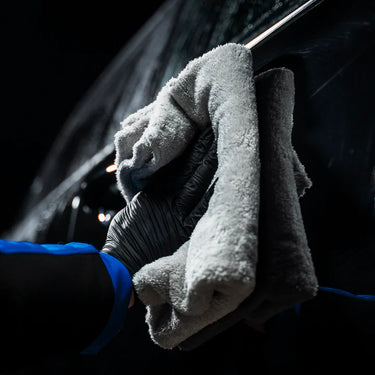
Using a clean, microfiber towel (recommended: Micron Buffing by Fra-Ber), gently buff the surface to remove the hazed wax or sealant residue. Move in circular motions, applying a little pressure to bring out the shine and ensure even coverage. Avoid pressing too hard, as this can leave swirl marks.
Step 8: Final Inspection
After all the above steps have been completed, inspect the entire vehicle to try spot any mistakes like steaks and uneven patches or missed spots. Use the buffing towel to fix these issues.
Maintenance Tips
To extend the life of the protection and shine, regularly wash your car with a wax-friendly shampoo like S2 Foamy. S2 Foamy is ph-neutral so it will not strip away the wax or sealant prematurely.
By following these steps, you’ll protect your car’s paint from harmful elements, enhance its appearance, and make future cleaning much easier! Whether you prefer the rich shine of wax or the long-lasting protection of a sealant, applying either one is an essential part of car care.


